


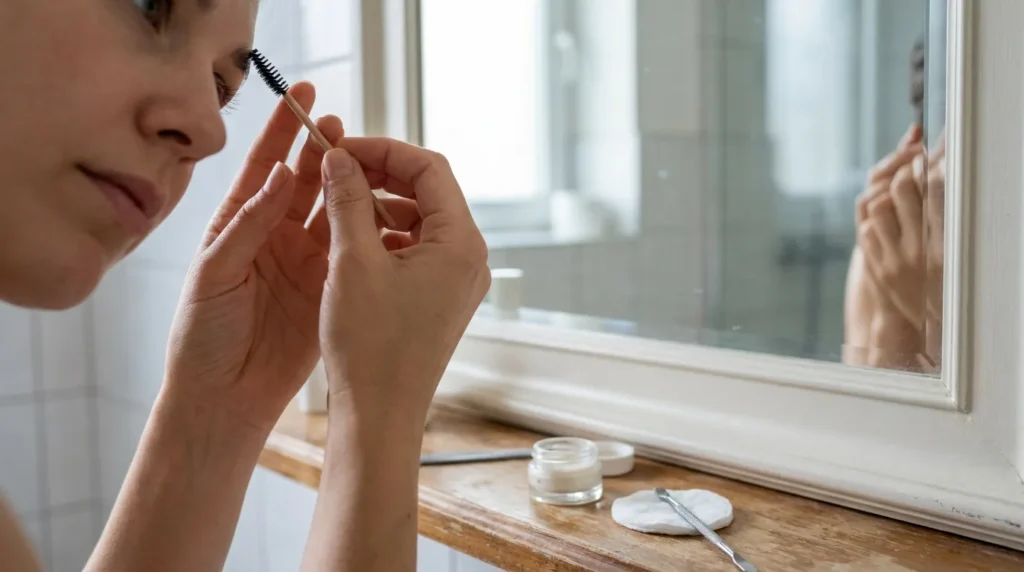
Learning how to do brow lamination at home means perming your brow hairs upward so they sit fuller and brushed-up for six to eight weeks. A home kit costs roughly AED 80 to AED 150 and lasts several uses. The process is reversible, but the chemicals sit close to your eyes, so timing and a patch test matter more than speed.
This guide is general information, not medical or treatment advice. Brow lamination uses perming chemicals near the eye area. In Dubai, salons that offer it work under a Department of Economy and Tourism (DET) trade licence and a Dubai Health Authority (DHA) health permit. If you have sensitive skin, an eye condition, or any doubt, speak to a DHA-licensed studio or your doctor before treating your brows yourself.
What is brow lamination?
Brow lamination is a chemical perm for your eyebrows. It does not add hair or colour on its own. Instead it softens the keratin bonds inside each brow hair, lets you reshape the hairs upward, then re-sets those bonds so the new shape holds. The result is a fuller, lifted, brushed-up look without daily styling.
The effect lasts about six to eight weeks, which is roughly one brow growth cycle. After that the treated hairs grow out and the brows return to normal. That is the main difference from microblading, which deposits semi-permanent pigment into the skin and lasts months to years. A lash lift uses the same perm chemistry on the lashes rather than the brows. Many people add a brow tint at the same appointment for extra definition, but tint and lamination are two separate steps.
What you need to do brow lamination at home
Most people buy an all-in-one kit rather than separate bottles. A typical home kit covers several applications and contains the two chemical steps plus the styling and aftercare tools. Here is what a standard kit includes and what each item does.
| Item | What it does |
|---|---|
| Lifting solution (step 1) | Softens the keratin bonds so the hairs can be reshaped |
| Neutraliser / fixing lotion (step 2) | Re-sets the bonds and locks in the new upward shape |
| Brow glue / lifting lotion | Holds the hairs flat in your chosen shape while the chemicals work |
| Spoolie and a fine brow brush | Spoolie shapes the hairs; the brush applies solution precisely |
| Cling film or small foil | Covers the brows so the solution stays warm and in place |
| Cotton pads | Wipe each solution off cleanly between steps |
| Barrier balm (or your own Vaseline / petroleum jelly) | Protects the skin around the brow from the chemicals |
| Nourishing brow serum or castor oil | Re-hydrates the hairs after processing and for daily aftercare |
A home kit usually costs AED 80 to AED 150 and stretches to around six uses, so the per-session cost is low. It helps to shape the brows first with eyebrow threading a day or two ahead so you are only lifting the hairs you want to keep. Before your first use, do a patch test: apply a small amount of the lifting solution behind your ear or on your inner arm and wait 24 hours to rule out a reaction. If you use Retin-A, tretinoin, or strong AHA exfoliants, your skin is more reactive, so the patch test is non-negotiable and you should pause those products around the treatment.
How to do brow lamination at home, step by step
Work in good light with a mirror, set a timer, and read your specific kit’s directions first. The steps below follow the method professional brow artists use, but exact timings differ by brand, so treat your kit’s instructions as the final word on timing.
- Cleanse and create a barrier. Remove all makeup, skincare, and oil from your brows. Brush a thin line of barrier balm on the skin around the brow, leaving a finger’s width of clear space above the hairs so they can stretch up. This protects your skin from the lifting solution.
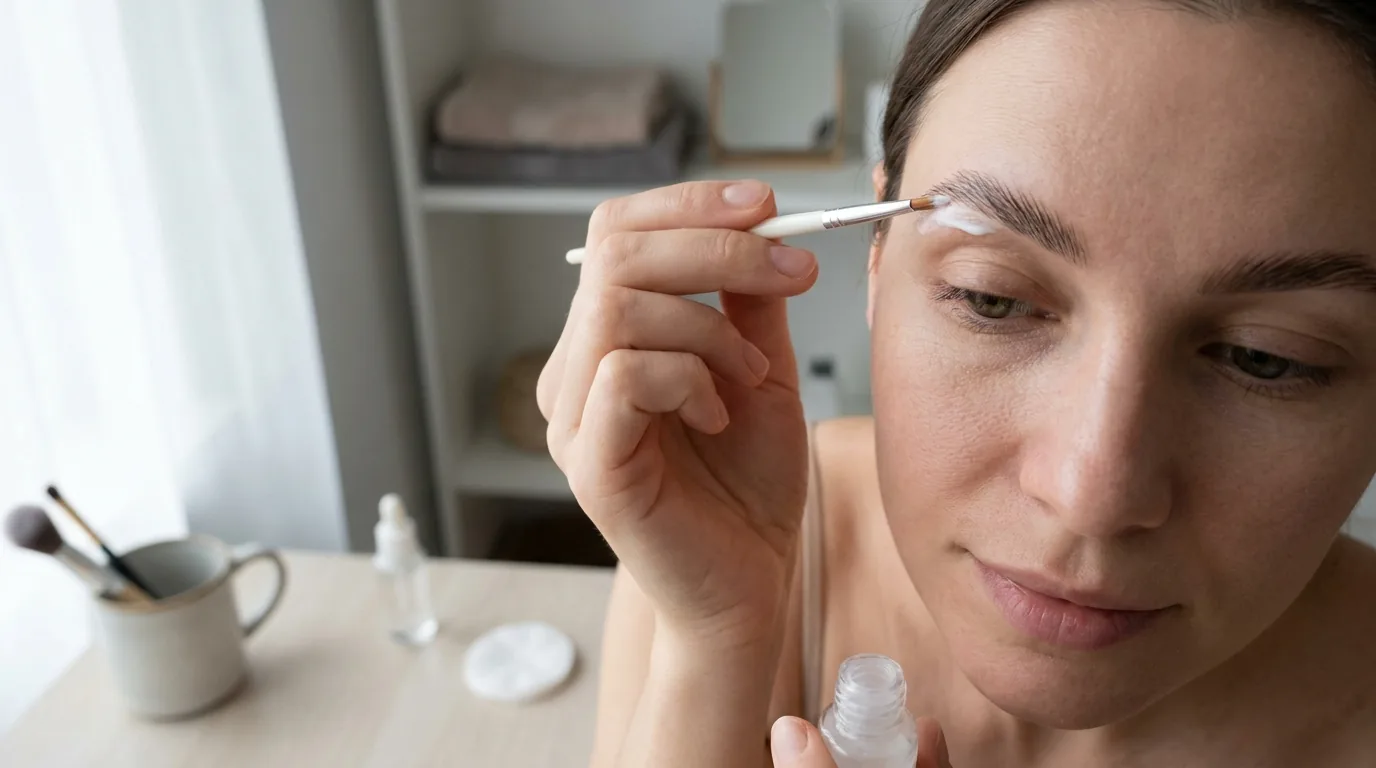
- Shape the hairs with brow glue. Brush the brow glue or lifting lotion onto a clean spoolie and comb the hairs into the position you want them to set: up and slightly out, flat against the skin. Make sure the hairs are saturated and the shape is even on both sides.
- Apply the lifting solution and time it carefully. Using the fine brush, not the spoolie, coat the hairs with the lifting solution. This is where most people go wrong by leaving it on too long. As a guide, leave it about one minute less than the longest time your kit suggests. For example, if a kit says five minutes for thin brows and eight for thick ones, a person with thick brows might leave it seven minutes. Cover the brows with cling film while it processes, then wipe the solution off completely with a dry cotton pad.
- Apply the neutraliser for the same time. The lifting solution raises the pH of the hair; the neutraliser brings it back down and fixes the new shape. Without it, the hairs keep processing and can overprocess. Run the neutraliser through the brows on a clean spoolie, leave it on for the same duration you left the lifting solution, then wipe it off fully.
- Nourish and rest. Finish with the nourishing serum or a drop of castor oil to re-hydrate the hairs. Keep the brows dry for 24 hours so the shape sets, and do not laminate again for at least six weeks so the hairs recover through a full growth cycle.
How to look after laminated brows
Knowing how to look after laminated brows is what makes the result last the full six to eight weeks instead of dropping in a week. The first 24 to 72 hours are the most important, and Dubai’s climate adds a few rules global guides skip.
- Day 1: keep the brows completely dry. No water, steam, sweat, cream, oil, or makeup on them for 24 hours. Avoid sleeping face-down so you do not crush the set.
- Day 2: still avoid saunas, steam rooms, swimming pools, and direct sun. Do not exfoliate the brow area or apply Retin-A or AHA products near it for at least 72 hours after treatment.
- Day 3 onward: start brushing a conditioning brow serum or castor oil through the hairs once or twice a day. The perm chemicals dry the hair, so this oil step is what keeps laminated brows soft instead of brittle.
Dubai-specific care matters because heat and humidity work against a fresh set. Strong sun can weaken the hairs and fade any tint, so a brow-safe sunscreen or a hat helps on beach days. Chlorine and salt water dry the hairs further, so rinse and re-oil after the pool or the sea. Indoor air conditioning is drying too, which is one more reason the daily serum is not optional here. Brush the brows up each morning and they hold their shape between oilings. The same daily-oil habit suits anyone wearing eyelash extensions, since both treatments rely on keeping the hairs conditioned.
How to get rid of brow lamination if it goes wrong
If you overprocessed the hairs or simply hate the shape, you can usually soften or reverse it. How to get rid of brow lamination depends on how soon you act. The fresher the set, the easier it is to relax.
- Within the first day or two: the new shape is still most workable. Apply a nourishing oil such as castor or coconut oil, then a warm (never hot) compress to relax the hairs, and gently brush them back into their natural direction with a clean spoolie.
- After a week or two: give it time first. The initial stiffness often softens on its own as the hairs settle. Keep oiling daily and avoid restyling aggressively.
- After four to six weeks: you usually do not need to do anything. New growth replaces the treated hairs and the brows return to normal on their own.
While reversing, be gentle. Do not over-brush, do not reach for harsh household chemicals, and do not apply more heat than a warm compress, because all three stress already-processed hairs. Above all, do not re-laminate or tint to “fix” it: stacking another chemical treatment on overprocessed brows is how breakage happens. If the brows look badly damaged, the skin reacts, or the result is very uneven, stop and see a professional. A licensed brow technician can relax the hairs with the right products far more safely than repeated DIY attempts, and our guide to eyebrow lamination in Dubai covers what a professional session involves.
At-home vs a Dubai salon: which is worth it
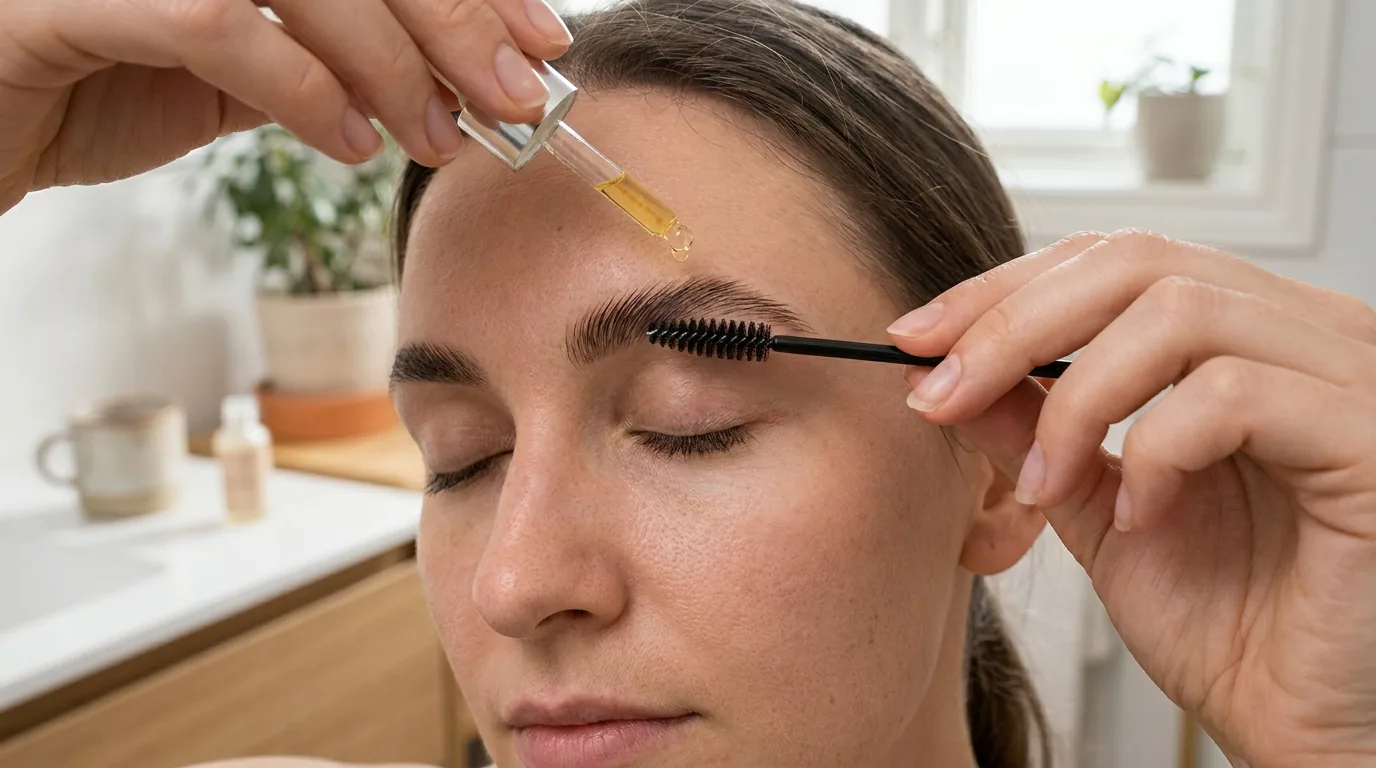
Choosing brow lamination at home Dubai-side is cheaper per session, but it carries real risk because the chemicals sit close to your eyes. A professional brings trained timing, sterile tools, and a fix if something goes wrong. Here is the honest trade-off.
| Factor | At home | Dubai salon |
|---|---|---|
| Cost | AED 80 to AED 150 per kit, several uses | AED 100 to AED 450 per session |
| Risk control | You manage timing and shape alone | Trained technician controls processing |
| Licensing | None; you are responsible | DET trade licence + DHA health permit |
| If it goes wrong | You self-correct, or pay to fix it | Included correction or aftercare advice |
The licensing point is the one most people miss. In Dubai, a studio offering brow lamination must hold a DET trade licence to operate and a DHA health permit to perform semi-permanent treatments near the eye. That oversight is exactly what you give up at home, and it is the reasoning behind how we rank salons in our directory. If your brows are healthy and you follow timing carefully, a kit is a fair way to maintain the look between visits. If you have never done it, have sensitive eyes, or want a specific shape for an event, a licensed studio is the safer call. A botched DIY set often costs more to repair than the salon session would have.
If you would rather have a professional do it, these brow and lash studios are among the higher-rated options in our Dubai directory. They sit within the wider set of aesthetic salons in the city, are listed by their in-directory rating rather than by us hand-picking them, and the venues below offer brow and lash services in-studio rather than at your home.

Popular brow and lash studios in Dubai
Luerur Aesthetic Clinic is a skin care and aesthetic clinic in Al Barsha, on 39th Street behind Saudi German Hospital. It is rated from reviews.Reviewers describe a doctor who explains options clearly and only recommends a procedure when it is genuinely needed, with specific praise for natural looking results after a filler dissolving treatment and for a targeted acne programme that visibly improved skin. As with any aesthetic or medical treatment, outcomes and experiences can vary between visits, so a thorough consultation to set expectations before booking is worth doing.The clinic offers a broad range of treatments, from Botox injections, dermal fillers, chemical peels and skin rejuvenation to laser hair removal, microdermabrasion, PRP therapy, FUE hair transplant and surgical procedures such as rhinoplasty, liposuction and tummy tuck. The venue has on-site appointments, gender-neutral toilets and wheelchair-accessible parking, entrance and seating.
In Al Habtoor Business Tower in Dubai Marina, Cosmesurge Clinic offers botox injections, dermal fillers, body contouring, chemical peels, laser hair removal, rhinoplasty, liposuction and FUE hair transplant among other cosmetic and dermatology treatments. It is rated from reviews.Reviewers consistently describe the doctors as attentive and compassionate, noting that treatment recommendations are conservative rather than pushed, and several return year after year for ongoing skin care. The clinic itself is noted for a modern, welcoming atmosphere with views over the marina.The clinic has on-site services with a wheelchair-accessible entrance, car park, seating and toilet, plus gender-neutral toilets. It suits Dubai Marina residents and visitors researching cosmetic treatments, laser hair removal or dermatology consultations, with a consultation typically recommended before committing to any treatment plan.
Novomed - Aesthetica is an aesthetic and plastic surgery clinic in Umm Suqeim 3, rated from reviews. The clinic's range spans injectables such as Botox and dermal fillers, body contouring and surgical procedures including liposuction, tummy tucks, breast augmentation and rhinoplasty, skin treatments such as chemical peels and laser resurfacing, hair transplants and tattoo removal. Many reviewers describe a highly professional, attentive consultation experience and results that met or exceeded expectations, with the clinic's aesthetic doctors singled out for precision and a natural-looking approach. A small number of reviews raise concerns about the number of sessions needed for tattoo removal and about cost, so it is worth agreeing the full treatment plan and pricing in detail before starting a course of sessions. The clinic has a wheelchair-accessible car park and entrance.
Enfield Royal Clinic is an aesthetic and cosmetic surgery clinic on Al Wasl Road in Al Manara, offering treatments including Botox, dermal fillers, chemical peels, laser hair removal, rhinoplasty, liposuction, arm lifts, tummy tucks, body contouring, breast augmentation and FUE hair transplants, and is rated from reviews.Reviewers consistently describe a professional, welcoming environment, with the clinical team praised for explaining procedures clearly, answering questions in detail and putting patients at ease before and during treatment. Laser and skin treatments in particular draw repeat mentions of strong results and attentive aftercare, and several visitors say they returned for a second or third session based on their first experience.The clinic offers on-site services along with gender-neutral toilets and wheelchair-accessible parking, entrance, seating and toilet facilities. It suits patients seeking a fuller consultation before committing to a cosmetic, dermatology or laser procedure.
Dr. Kayle Aesthetic Clinic is a plastic surgery and skin care clinic in Al Manara, offering procedures including breast augmentation, liposuction, rhinoplasty, tummy tuck, arm lift and eyelid surgery, alongside non-surgical treatments such as Botox injections, dermal fillers, chemical peels, facial treatments and laser hair removal. Rated from reviews.Reviewers describe doctors who take time to listen carefully, investigate the underlying cause of a concern rather than treating symptoms alone, and explain the reasoning behind a recommended treatment. Several report noticeable improvement after a course of sessions and describe feeling genuinely supported throughout their care.On-site services are available, and the clinic has a wheelchair-accessible car park and entrance, making it straightforward to reach for consultations and follow-up visits alike.
You can also browse all 17 aesthetic and brow studios listed across Dubai and filter by area or rating.
Browse all 17 Aesthetic Salons providers on our directory.
Common mistakes to avoid
- Leaving the lifting solution on too long. Overprocessing is the number-one cause of frizzy, brittle, damaged brows. Time it short, not long.
- Skipping the patch test. Perm chemicals near the eye can trigger a reaction. Test 24 hours ahead every time, especially if you use retinoids or AHAs.
- Forgetting the barrier balm. Without it, the lifting solution can irritate the skin around the brow.
- Getting the brows wet too soon. Water in the first 24 hours drops the set before it has fixed.
- Under-oiling afterwards. Laminated hairs are dried by the chemistry; no daily serum means brittle brows within days, faster in Dubai’s dry, air-conditioned air.
- Re-laminating too soon. Treat again before six weeks and you stack chemicals on hairs that have not recovered.


