



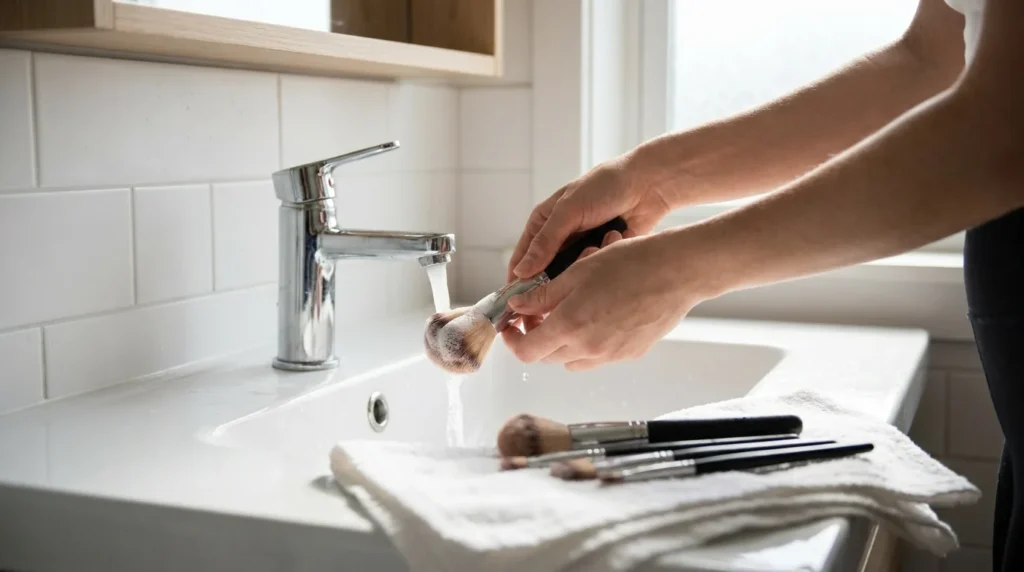
You should clean makeup brushes every 7 to 10 days for everyday use, and once a week if you have acne-prone or sensitive skin. Foundation and concealer brushes need a wash at least weekly, powder brushes every one to two weeks, and a makeup sponge after every single use. In Dubai’s heat and dust, sticking to the shorter end of each window keeps bacteria and breakouts in check.
How often should you clean makeup brushes?
The honest answer is that how often you should clean makeup brushes depends on the brush and what it touches. Brushes that carry liquids and creams, like foundation and concealer brushes, trap oil and bacteria fast, so they need a wash at least once a week. Brushes that only touch dry powder, like setting-powder and eyeshadow brushes, can stretch to every one to two weeks. A makeup sponge is the strict one: it holds water inside and breeds bacteria, so it gets a clean after every use.
Dermatologists at the American Academy of Dermatology recommend washing brushes every 7 to 10 days as a general rule. Professional makeup artists go further and wash after every single client, which is the hygiene bar a Dubai salon should also meet. For your own kit at home, weekly is the realistic target that protects your skin without turning brush care into a second job.
Here is the part most guides skip: Dubai’s climate changes the maths slightly. Fine dust settles on bristles left out on a bathroom counter, and the city’s humidity slows drying, which gives bacteria more time to grow if a brush is put away even slightly damp. If you live here, the case to clean makeup brushes on the shorter end of every window is stronger than it would be in a cooler, drier climate.
How often to clean each type of brush
Not every brush needs the same schedule. The wetter the product a brush carries, the faster it needs cleaning. This table sets a realistic frequency for each tool, with the Dubai-climate note applied where it matters most.
| Brush or tool | Clean how often | Why |
|---|---|---|
| Foundation & concealer brushes | Once a week (twice if acne-prone) | Liquids and creams trap oil and bacteria quickly |
| Cream blush, bronzer & contour brushes | Once a week | Cream products cling to bristles and go stale fast |
| Powder blush, bronzer & setting brushes | Every 1 to 2 weeks | Drier product, less bacteria, but dust still settles |
| Eyeshadow brushes | Every 1 to 2 weeks | More often if you switch shades or work near the lash line |
| Eyeliner & brow brushes | Once a week | They sit where bacteria gathers, close to the eye |
| Lip brushes | After every use | Direct contact with the mouth, no shortcuts |
| Makeup sponge (beauty blender) | After every use | Holds water inside; replace every 3 months |
The pattern is simple: anything that touches liquid, cream, the eye, or the lips gets cleaned weekly or more, and only dry-powder face brushes earn the longer two-week window. Use the table as your default and adjust if your skin is reactive, in which case you clean makeup brushes more often, not less.
Should you clean makeup brushes after every use?
For most face brushes, a full wash after every use is overkill and will wear the bristles out faster. The smarter routine is two layers. A quick surface wipe on a clean tissue after each use removes the top layer of product and stops shade-mixing. A proper deep clean, the kind that gets soap down into the bristles, happens on the weekly or two-weekly schedule above.
Two tools are the exception and genuinely need cleaning every time: lip brushes and makeup sponges. Both make heavy, direct contact and hold residue that a tissue wipe cannot reach. A sponge in particular soaks up water and product into its core, where bacteria thrive, so rinse it after each use and bin it after three months even if it still looks fine.
How to clean makeup brushes step by step
You do not need a special machine. A bowl of lukewarm water and a gentle cleanser do the job. The two rules that protect your brushes are keep the metal part dry and dry them flat. Here is the method dermatologists and makeup artists agree on.
- Wet only the bristles under lukewarm running water. Never submerge the whole brush head: water that reaches the ferrule, the metal band, dissolves the glue holding the bristles in.
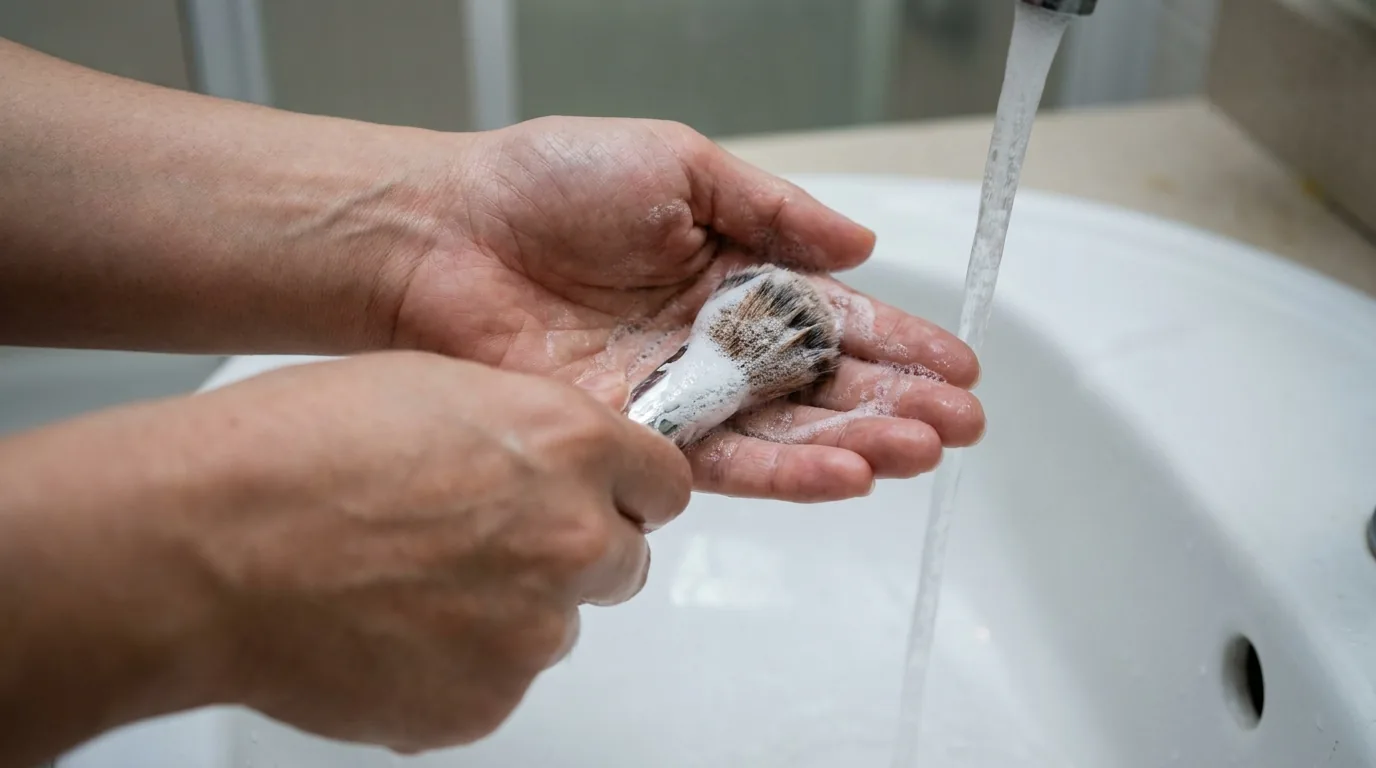
- Add a gentle cleanser. A drop of baby shampoo, sulphate-free shampoo, or a dedicated makeup brush cleaner in your palm works well. Plain bar soap dries the bristles out.
- Swirl and lather. Massage each brush tip gently in your palm or on a cleaning mat. Skip hard circular scrubbing, which bends and breaks the hairs.
- Rinse until the water runs clear. Repeat the lather-and-rinse step for heavily used foundation brushes until no more product releases.
- Squeeze out excess water with a clean towel and reshape the brush head with your fingers.
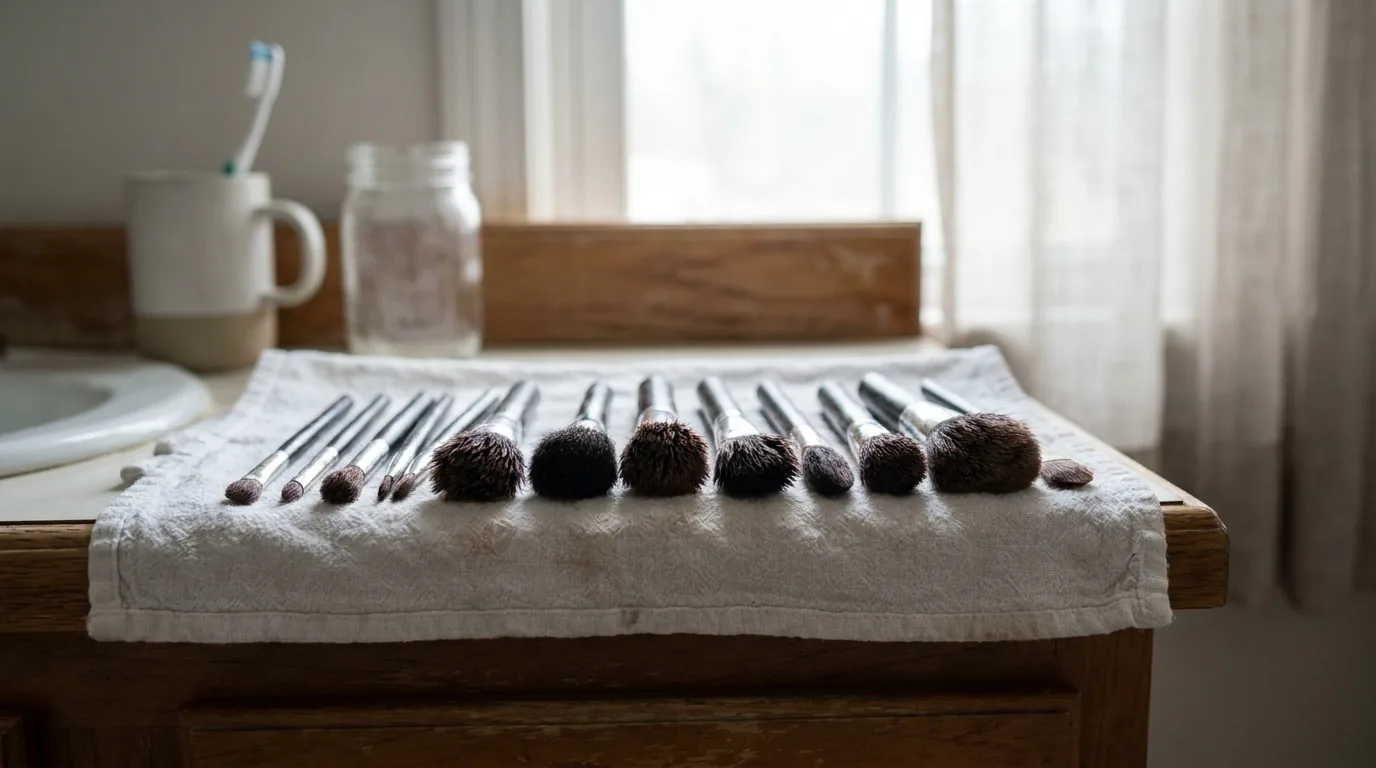
- Lay flat to dry, with the bristles hanging slightly off the edge of a counter so air reaches them. Never dry a brush upright while wet, and never stand it bristle-up: water runs down into the ferrule and loosens the glue.
Use cool to lukewarm water throughout. Hot water is the single most common mistake: it melts the glue and the bristles start shedding within a few washes.
How to clean makeup brushes fast
When you are short on time, the trick is to wash several brushes in one session rather than chasing a faster method per brush. A silicone cleaning mat speeds things up: the textured surface works the soap through the bristles in seconds, so a full set takes minutes instead of one brush at a time. A spray-on brush cleanser formulated with alcohol is the genuine fast option between deep cleans. Mist the bristles, wipe them on a clean tissue, and the brush is ready to reuse in under a minute.
One caveat on the fast route: a spray cleanse disinfects the surface but does not pull built-up product out of the core of the bristles. Treat it as maintenance, not a replacement. The weekly deep clean with water and cleanser still has to happen.
Why clean brushes matter for your skin
Dirty brushes are not a cosmetic detail. Every use leaves behind oil, dead skin cells, and leftover product, and that mix is a feeding ground for bacteria. Reapplying makeup with a loaded brush pushes that build-up straight back onto your face, which clogs pores and triggers breakouts. If you are already battling congestion, clean tools are one of the cheapest fixes available, and worth pairing with a proper plan to get rid of blackheads rather than feeding them.
The risk goes past spots. Dermatologists link neglected brushes to skin infections, including fungal infections, E. coli, and staph, because warm bristles loaded with organic residue are exactly where those organisms grow. Persistent irritation or rashes that track with your makeup routine are worth a conversation with a clinic; a directory of skin-focused providers and acne treatment options makes that step easy. In Dubai’s warmth, where bacteria multiply faster, the case for a regular wash is stronger, not weaker.
How often should you replace makeup brushes?
Cleaning extends the life of a brush, but nothing lasts forever. A well-kept quality brush can run for years. The signals that it is time to replace one are clear: bristles that keep shedding after a wash, a head that has lost its shape and no longer holds product evenly, or a ferrule that has worked loose from the handle. Once shedding becomes constant, the glue is failing and no amount of cleaning brings it back.
Makeup sponges are the short-lived exception. Even with a rinse after every use, the foam breaks down internally and cannot be fully disinfected after about three months, so replace them on that cycle regardless of how they look. Tools that hold water simply have a shorter safe lifespan than dry-bristle brushes.
Common mistakes to avoid
- Using hot water. It melts the glue at the ferrule and the bristles shed. Stick to cool or lukewarm.
- Soaking the whole brush. Submerging the head lets water into the ferrule. Wet the bristles only.
- Drying brushes upright while wet. Water runs down into the handle and loosens the glue. Always dry flat.
- Scrubbing hard in circles. Rough motion bends and snaps the hairs. Gentle swirling is enough.
- Leaving soap in the bristles. Residue irritates skin. Rinse until the water runs clear.
- Sharing brushes. It transfers bacteria between people. Keep your kit to yourself.
The hygiene standard at a Dubai salon
If you book a professional rather than doing your own face, brush hygiene becomes their responsibility, and the bar is higher than at home. A working makeup artist should wash brushes after every client and use single-use applicators for products that touch the lips and eyes. This matters most for bridal makeup and event looks, where one set of tools moves across many faces over a long day. The same standard applies to a quick party makeup booking.
Hygiene is also a marker of a properly run business. A licensed salon in Dubai operates under a Dubai Economy and Tourism (DET) trade licence, and any premises offering skin-contact beauty services falls under Dubai Health Authority (DHA) health regulations, which set sanitation expectations. When you choose where to book, asking how tools are cleaned is fair, and the answer tells you a lot. You can see how we apply checks like this in our salon ranking method, or browse the full list of vetted make-up artists across the city. For a wider look at booking a professional look in the city, our guide to makeup in Dubai covers prices and what to expect, and the same standards run across every category in our salon directory.
Browse all 4 Make-Up Artists providers on our directory.


